Understanding the necessity of sterilizing glass jars before utilizing them for your preserves and jams is paramount to ensuring the success and durability of your products. Sterilization stands as a pivotal step in food preservation, effectively eradicating fungi, yeasts, and bacteria that could compromise the integrity of your goods. By meticulously sterilizing jars, you safeguard the stored food against contamination, thus extending its shelf life.
The sterilization process is straightforward, making it indispensable in the canning procedure. In the subsequent discourse, we elucidate the proper methods for cleansing and sterilizing glass jars, accompanied by invaluable reminders and insights to optimize your sterilization practices.
Pre-Sterilization Preparations
Avoid Boiling Metal Lids and Rubber Rings
Never boil metal lids and their rubber sealing rings for your jars. Check the interior of the metal lids for any embedded rings before sanitizing. While the rubber or plastic may not completely melt, it can cause the lid to no longer fit snugly onto the jars.
The intense heat from boiling water can damage the lid’s rubber ring, leading to a compromised seal and potential contamination of jar contents. Instead, submerge the lids and rings in simmering water for ten minutes to ensure thorough cleaning. You can also utilize the water used for sanitizing glass jars, once slightly cooled, to clean the lids and rings effectively.
Maintain a Clean Sterilization Environment
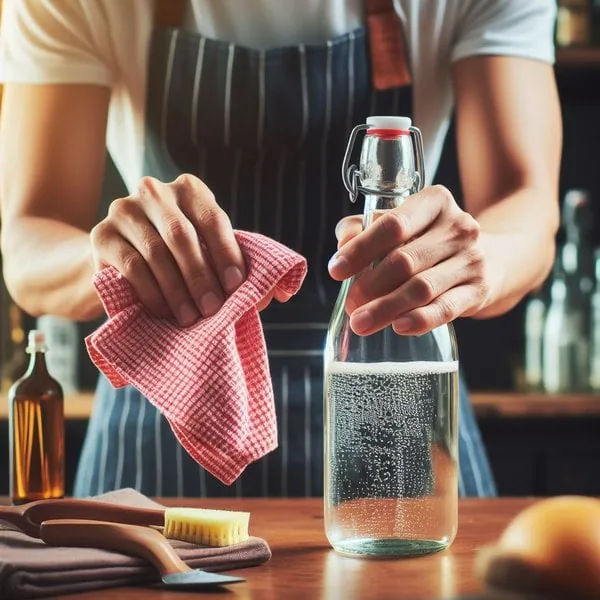
Sterilizing glass jars is futile if the surrounding environment is not pristine. Even after cleaning jars, they remain susceptible to bacterial contamination from their surroundings. If drying jars on dish towels, ensure the towels are clean.
Whenever possible, can preserves immediately after sterilizing jars. If sterilized jars sit for an hour or more, consider resterilizing before canning products. Additionally, avoid placing hot products into cold jars or vice versa.
Use Oven Mitts for Safety
Sterilization involves subjecting glass jars to high temperatures, necessitating careful handling. Use oven mitts to prevent burns. For wholesale operations, consider employing pick and place robots in your factory to mitigate risks of burns and reduce costs.

Jar Cleaning Methods (Two Options)
Rice Soaking
- Place 1/4 cup of raw, uncooked white rice into each jar, avoiding partially-cooked rice.
- Add 3 drops of dish soap to each jar.
- Fill jars with hot (not boiling) water, filling them to about 3/4 full.
- Seal jars and shake vigorously for 20-30 seconds.
- Drain rice and rinse jars thoroughly, repeating the rinsing process 2 or 3 times to ensure no grains remain.
- Dispose of rice grains and allow jars to air dry.
Scrubbing
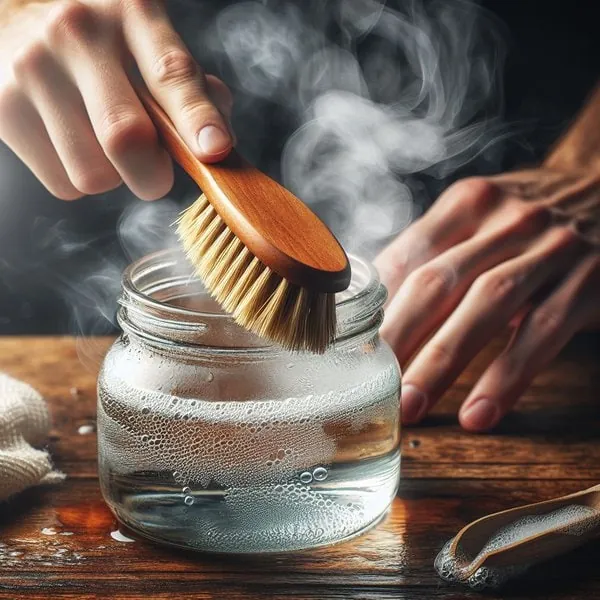
- Utilize a bottle brush with soft bristles to prevent scratching the glass jar interiors, minimizing areas for microbial growth.
- Wet the brush with hot water.
- Scrub the interior of each jar thoroughly, ensuring coverage of all areas by pivoting the bottle brush handle.
- Rinse jars by filling them with hot water, swishing to cleanse all surfaces. Repeat rinsing process, noting any particles present.
- If particles persist, add 2 drops of dish soap and 1 teaspoon of salt to the jar, filling it one-third full with hot water. Seal and shake for 20 seconds.
- Allow jars to dry on a strainer, ensuring they are stored upside-down for optimal drying.

Sterilizing Glass Jars (Five Methods)
Using a Microwave
For everyday glass jars, microwaving offers a convenient sterilization method. However, it’s not suitable for jars featuring metal lids or Kilner-style designs.
Here’s how to proceed:
- Clean and rinse your jars thoroughly, ensuring they are not dry when placed in the microwave.
- Microwave the jars for 30-45 seconds, adjusting the duration based on the size of your jars.
This swift and efficient method ensures your glass jars are sanitized and ready for use.
Using a Dishwasher
This sterilization technique is ideal if you possess a steam dishwasher or if your machine features a high-temperature setting. It suits Kilner-style glass jars, as well as those with screw tops, rubber rings, and clip tops.
Here’s how to proceed:
- Load the cleaned jars into the dishwasher.
- Initiate a rinse cycle, ensuring the cycle’s end aligns with the timing of your preserves, pickles, or jams being ready for canning.
- Upon completion of the rinse cycle, fill each jar with the hot preserve or jam, one at a time.
While the dishwasher method offers convenience, it consumes a considerable amount of water. Moreover, synchronizing the cycle’s end with the readiness of your product for canning can be challenging.
Using an Oven
This method guarantees thorough cleanliness for your jars prior to filling them with preserves, though it requires more time compared to other techniques, spanning approximately 30 minutes. The oven method is particularly effective for jars equipped with rubber rings and clip tops.
Follow these steps:
- Preheat your oven to 130°C or 275°F. Be cautious not to exceed the recommended temperature to prevent glass jar breakage.
- Place two layers of newspaper on the oven shelves, ensuring they do not touch the oven floor. For gas ovens, keep the newspapers clear of any flames.
- Arrange your glass jars inside the oven, ensuring they are spaced apart and do not make contact with each other.
- Sterilize the jars for at least 20 minutes.
- Using oven mitts, carefully remove the jars from the oven and place them on a heating pad or heatproof mat for cooling.
This meticulous method ensures your glass jars are impeccably clean and ready for preserving your culinary creations.

Using a Stove
If you lack access to a microwave, dishwasher, or oven, the stove offers an effective alternative for sterilizing glass jars. Below is a concise video demonstration illustrating the process:
The sterilization procedure typically lasts approximately 25 minutes when using a stove.
Follow these steps:
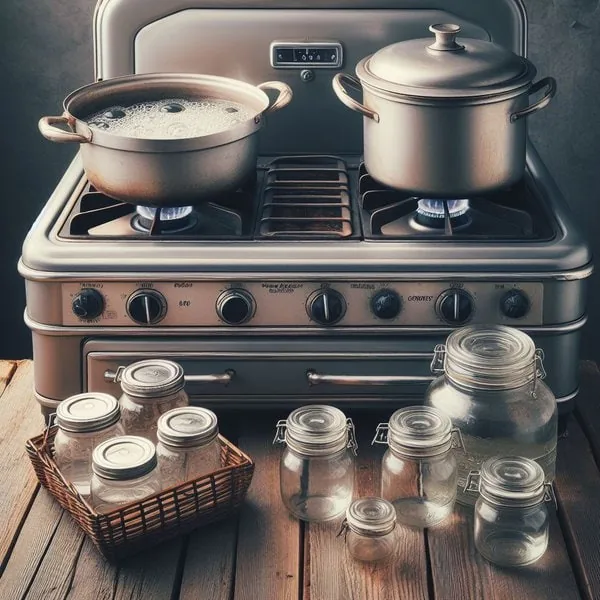
- Utilize a large pot or boiling water canner.
- Position the glass jars in the pot, ensuring their tops face upward.
- Completely cover the jars with hot (not boiling) water, ensuring the water level extends one inch higher than the jars’ height in the pot.
- Wait for the water to reach a boil.
- Commence timing once the water reaches a boil, adjusting based on your location’s altitude.
- Once boiling is complete, switch off the stove. If you’re not commencing the canning process immediately, leave the jars in the pot.
- Use tongs or jar lifters to carefully remove the jars from the pot.
- Drain the jars thoroughly and allow them to dry.
The conventional method of sterilizing glass jars involves submerging them in boiling water. However, altitude influences the boiling point of water. At higher altitudes, the boiling point is lower, necessitating adjustments to sterilization times.
At sea level to 1,000 feet elevation, a recommended boiling time of ten minutes suffices. For each additional 1,000 feet in altitude, add one more minute to the boiling time.
Using Vinegar
Distilled white vinegar offers superior bacteria-killing properties compared to commercially available sanitizing solutions.
Here’s how to proceed:
- Fill one-third of your glass jar with distilled white vinegar.
- Top up the jar with hot water until it reaches the brim.
- Allow the jar to sit for 10 minutes.
- Empty the jars and rinse them thoroughly until the vinegar odor dissipates, which may require 2-3 full rinses using hot water.
- Let the jars air dry.
This method ensures effective sterilization of your glass jars, promoting cleanliness and safety for your preserved goods.

Top Tips for Glass Jar Sterilization
- Allow pickles, preserves, and jams to settle for approximately 15 minutes before sealing.
- Sterilize additional glass jars to preempt the need for another sterilization cycle once your products are prepared.
- Retrieve glass jars from the dishwasher or oven only when necessary to prevent them from cooling prematurely.
- Avoid using rusty or impaired jar lids, as they compromise a tight seal. Consider employing cellophane or wax discs as alternatives.
Conclusion
Join the movement to diminish environmental waste by recycling your glass jars. Not only does recycling contribute to preserving our planet, but it also presents an opportunity to trim your packaging costs. In your quest for a dependable glass jar manufacturer, look no further than WXglass. We specialize in supplying a diverse range of food-grade glass containers tailored to various needs and applications.

