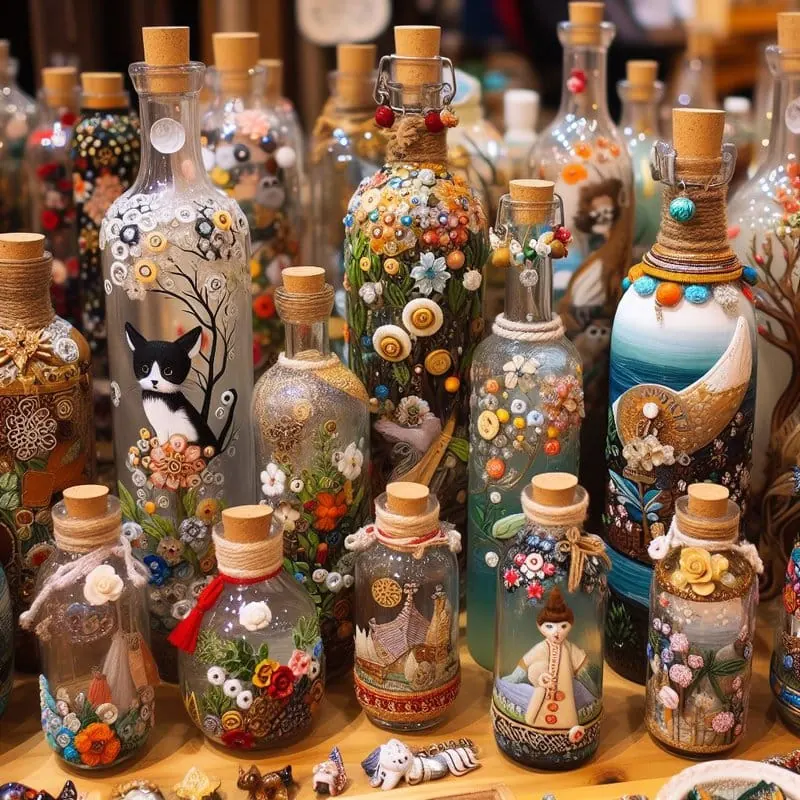
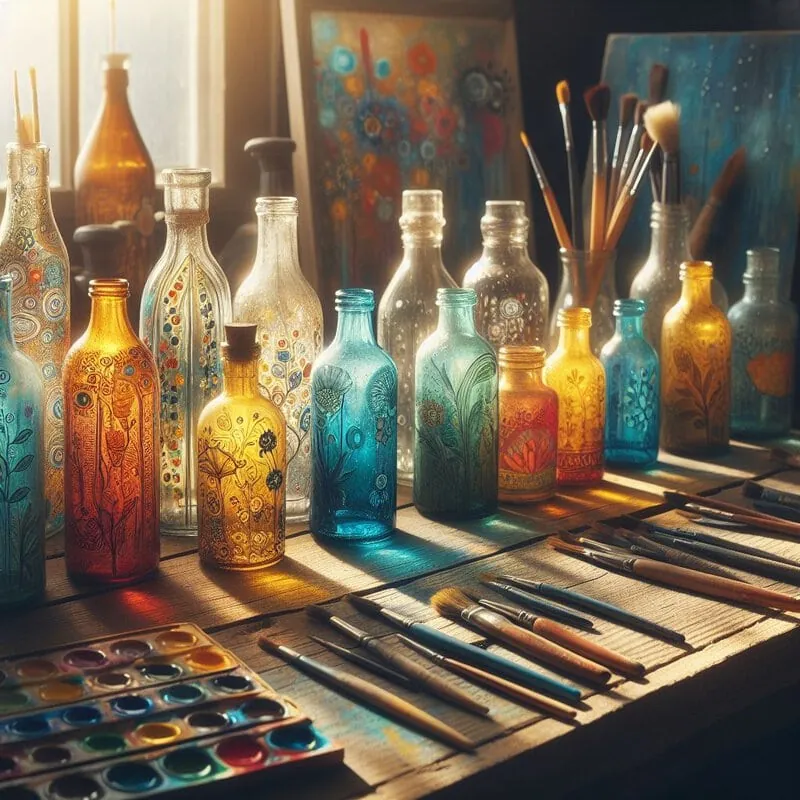
Glass jars are incredibly versatile, serving a multitude of purposes. From storing food to adorning your home as flower vases, pen holders, or captivating centerpieces, their utility knows no bounds. With a dash of creativity and some crafting materials, you can transform ordinary glass jars into stunning works of art, straight from the pages of Pinterest.
Selecting the Perfect Glass Jars
Glass jars for your painting endeavor can be sourced from various sources, including recycled containers from your kitchen. Milk bottles, coffee jars, and even repurposed Gatorade bottles offer excellent options. Mason jars, with their embossed lettering, are particularly favored for their vintage appeal.
Ensure that your chosen glass jars are devoid of cracks or chips. Even minor imperfections can result in tiny glass shards and sharp edges, posing potential hazards.
Preparing and Cleaning Your Jars
Prior to painting, it’s crucial to thoroughly clean and prepare the glass jars, eliminating any traces of grease, dirt, or debris.
Begin by soaking the glass jars in a mixture of warm water, dish soap, and a few cups of white vinegar. This solution effectively removes labels, eliminates grease, and disinfects the jars. Allow the jars to soak for approximately 30-45 minutes before removing them from the water and peeling off any remaining labels. Rinse the jars thoroughly and air-dry them for optimal results.
Painting Techniques for Glass Jars
Now comes the enjoyable part: expressing your creativity! While any type of paint adheres to glass, acrylic, spray paint, and chalk paint are among the most popular choices. Explore these innovative ideas for decorating your glass jars:
1. Painting with Acrylic Paint
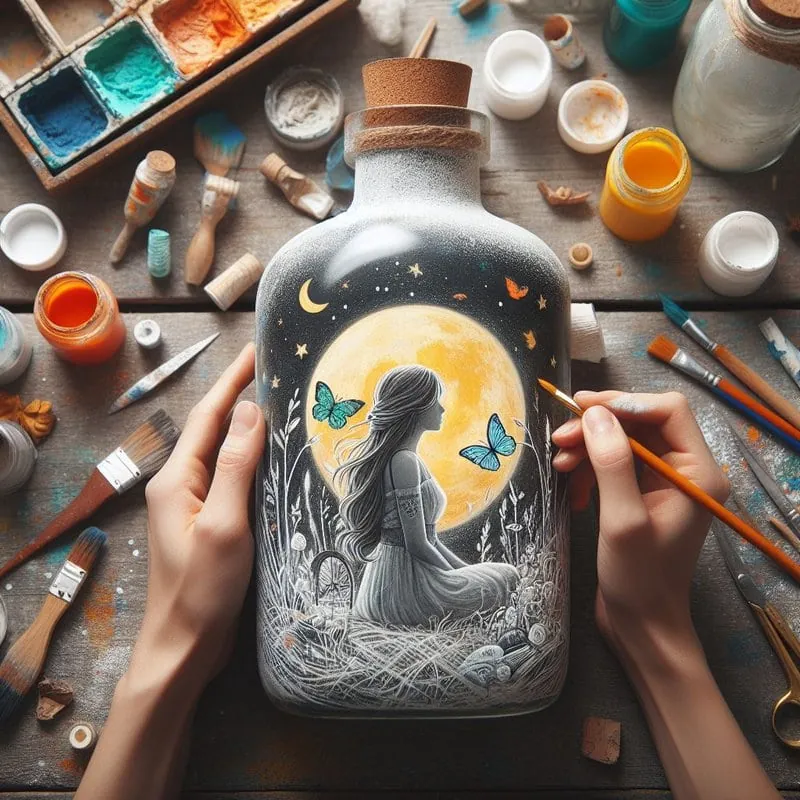
Achieving flawless results when painting glass jars with acrylic hinges on a meticulously clean surface. Free from dust and oil, the glass ensures better paint adhesion. Wipe the glass jar meticulously with rubbing alcohol, avoiding any fingerprints on the surface.
While acrylic paint may peel over time, applying thin coats of paint minimizes this risk. A painting sponge yields a smoother finish, while a paintbrush lends a more textured, artistic look to your design.
2. Painting with Spray Paint
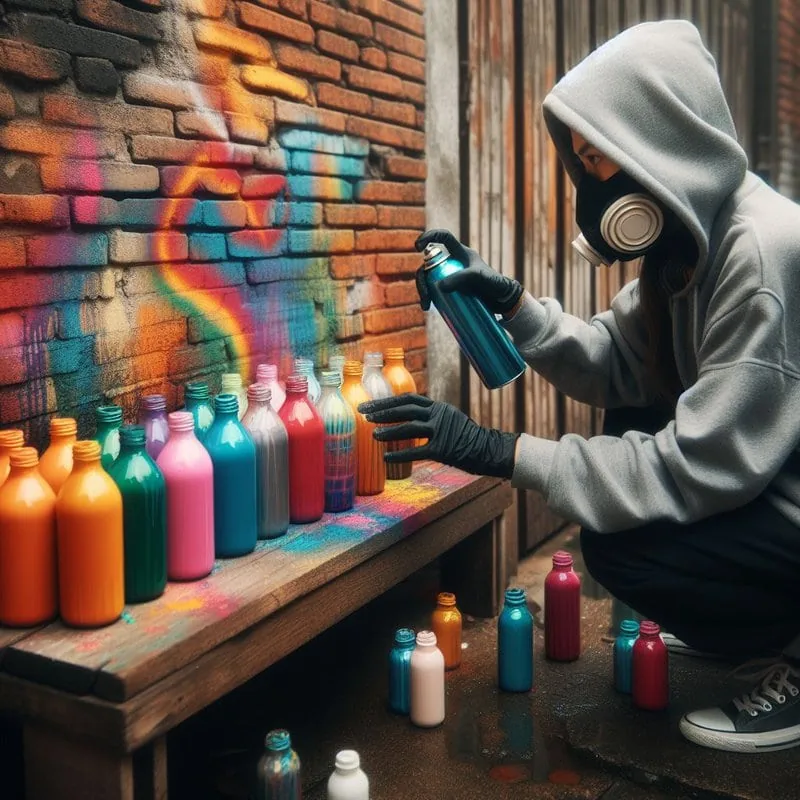
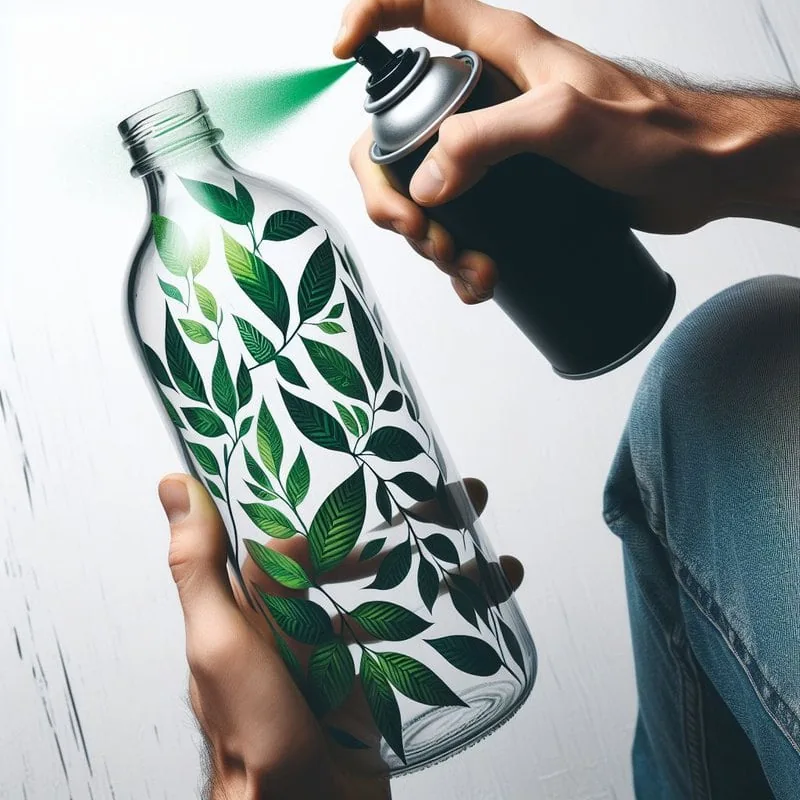
Achieving a smooth and flawless finish with spray paint hinges on starting with a pristine surface. Begin by wiping the glass jar with rubbing alcohol using a cotton ball or microfiber cloth. Ensure the surface is completely dry before proceeding with painting.
Proper ventilation is essential during the painting process. Spray paint emits toxic fumes that can pose health risks to your lungs. Therefore, painting outdoors is highly recommended. If indoors, ensure windows are open and use fans to facilitate ventilation. Moreover, for manufacturers providing printing services, employing high-speed robot arms can enhance efficiency.
Position the glass jar upside down on a newspaper. Shake the spray paint can and hold it 6 inches away from the jar. Spray the jar horizontally, maintaining constant arm movement to prevent drips. Start with a thin coat and allow it to air-dry for approximately 30 minutes before applying another coat.
3. Painting with Chalk Paint
Chalk paint emerges as an excellent choice for embellishing your glass jars. Its matte finish facilitates the creation of captivating effects, including the beloved distressed look often seen on mason jars. Additionally, chalk paint comes in an array of pastel hues perfect for springtime craft projects.
For a smooth and seamless finish, consider using chalk spray paint on your glass jars. Conversely, if you’re aiming for a distressed design, a paintbrush will suffice to achieve the desired effect.
4. Achieving a Distressed Look
While mason jars possess inherent charm, you can elevate their appeal by imparting a distressed aesthetic. This popular design imparts a rustic, farmhouse ambiance to your decor.
To achieve the distressed look, begin by applying 2-3 coats of your chosen color to the jar. Allow ample drying time. Next, using a 220 grit sandpaper, gently sand the raised or embossed areas of the jar.
5. Adding Elegance and Shine
Elevate your glass jars with a touch of glamour by creating your own glitter jars. Begin by using painter’s tape to wrap the jar diagonally or horizontally. Apply Mod Podge to the exposed areas, starting from the bottom. Sprinkle glitter onto the jar, gently tapping off any excess. Allow the Mod Podge to dry completely before removing the painter’s tape.
For added brilliance, consider spray painting the lid or handles of the jar with gold. Experiment with multiple colors of glitter to achieve your desired decorative effect.
6. Embrace Spring’s Arrival
Celebrate the arrival of spring by crafting a charming robin’s egg glass jar decoration. Begin by painting your jar with chalk paint in a delicate pastel blue shade, such as Rust-Oleum’s Chalked Serenity Blue. Allow ample time for the paint to dry completely. To achieve the speckled effect reminiscent of a robin’s egg, dip a toothbrush into black paint and gently flick the bristles near the painted surface of the jar.
Enhance the jar’s appeal by adorning the rim with twine, creating a charming bird’s nest effect. Complete the ensemble by filling the jar with delicate white daisies or sprigs of baby’s breath for a whimsical touch of spring.
7. Adorned Jar Lids
If painting your glass jars isn’t your style, consider embellishing the lids instead. For this unique design, gather plastic figurines with flat bottoms. Secure the figurine onto the lid using hot glue, ensuring it sets completely. Then, apply a coat of spray paint to the lid and figurine, allowing it to dry thoroughly. Once dry, affix the lid onto the glass jar, creating a charming container perfect for storing treats and trinkets.
8. Golden Elegance
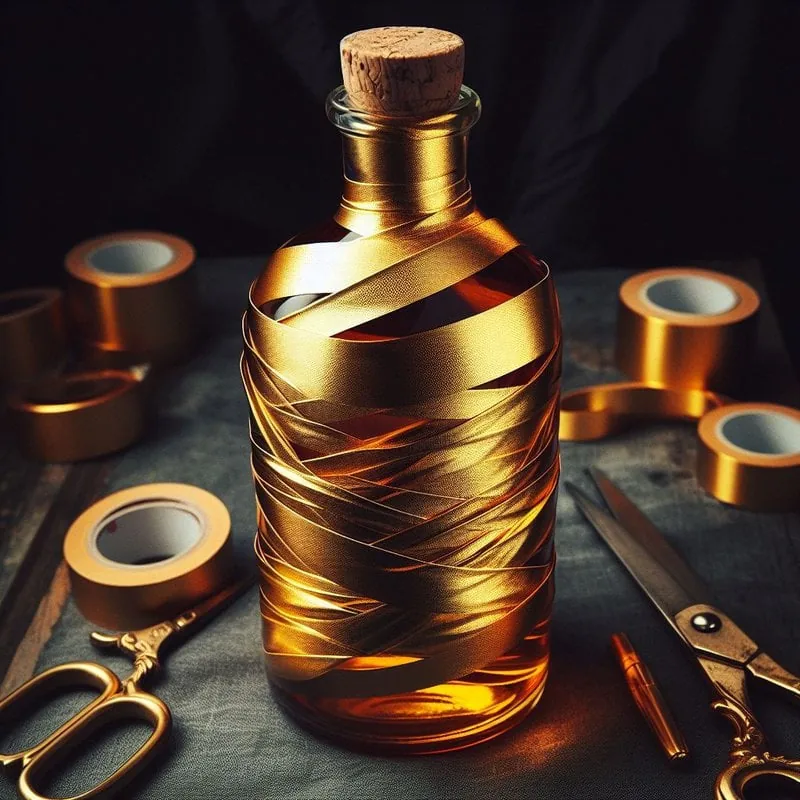
Discover the elegance of repurposed milk jars as stunning vases. Transform your kitchen empties by coating the outer surface with a luxurious metallic gold spray paint. For added glamour, apply Mod Podge to the lower portion of the jar and delicately sprinkle with shimmering gold glitter. Allow it to dry thoroughly. Your exquisite gold vase is now primed to showcase vibrant, fresh flowers in style.
9. Marbleized Elegance
Elevate your ordinary glass jars to marbleized masterpieces with this simple tutorial. Start by spray painting the jar in your preferred color (black or white is recommended). Then, using a marbleizing spray in a contrasting hue, apply a mist to the jar to achieve the sophisticated look of marble.
10. Charming Cutouts
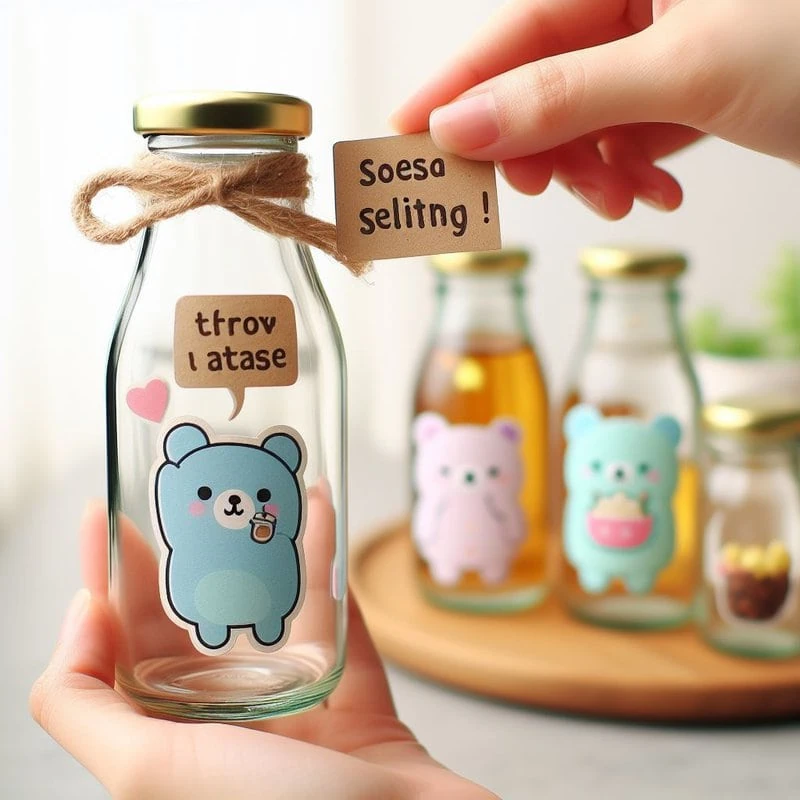
Craft charming containers with delightful cutout designs and soft pastel hues. Begin by printing your favorite cutout design on sticker paper, then affix the stickers onto the jar. Apply 2-3 coats of chalk paint to the jar, ensuring to cover the stickers thoroughly. After it dries, gently remove the stickers. Presto! These jars make perfect gift containers or sweet treat holders.
Conclusion
Discover the myriad ways to repurpose and embellish glass jars. With a touch of creativity, you can transform ordinary kitchen containers into exquisite vases, decorative pieces, and storage solutions.
For your commercial or personal needs, explore WXglass Packaging’s extensive selection of glass bottles and containers. Visit our website to explore our range of products and services.

